


How to Paint a Celling
So you have decided to update your home and you’re wondering just how to paint a celing. We understand that the prospect of painting the ceiling can be daunting. But for a freshly painted space to look finished, it’s a vital step. Use these suggestions to do the task quickly and effectively while making sure the procedure is as simple and painless as possible. Here’s how to paint a ceiling properly, from choosing the necessary supplies to using the perfect method.
Paint the Celling First
Everyone has the same query: Which should be painted first, the ceiling or the walls? Start painting the ceiling if you intend to paint the entire space. In this manner, you won’t have to worry about roller splatters landing on the walls because everything will be touched up after the walls are painted. One warning: Be careful not to paint the walls if you’re painting the ceiling a strikingly different colour from the walls. Tape off any moulding.
Use Tape
Start by tape off the wall or crown moulding edge if you’re only painting the ceiling. If you want to get the roller close to the corner without getting paint on the wall, think about using a larger painter’s tape. This enables you to work more quickly by allowing you to be less precise.
Don’t forget to cover ceiling fans and tape any light fittings or vents.
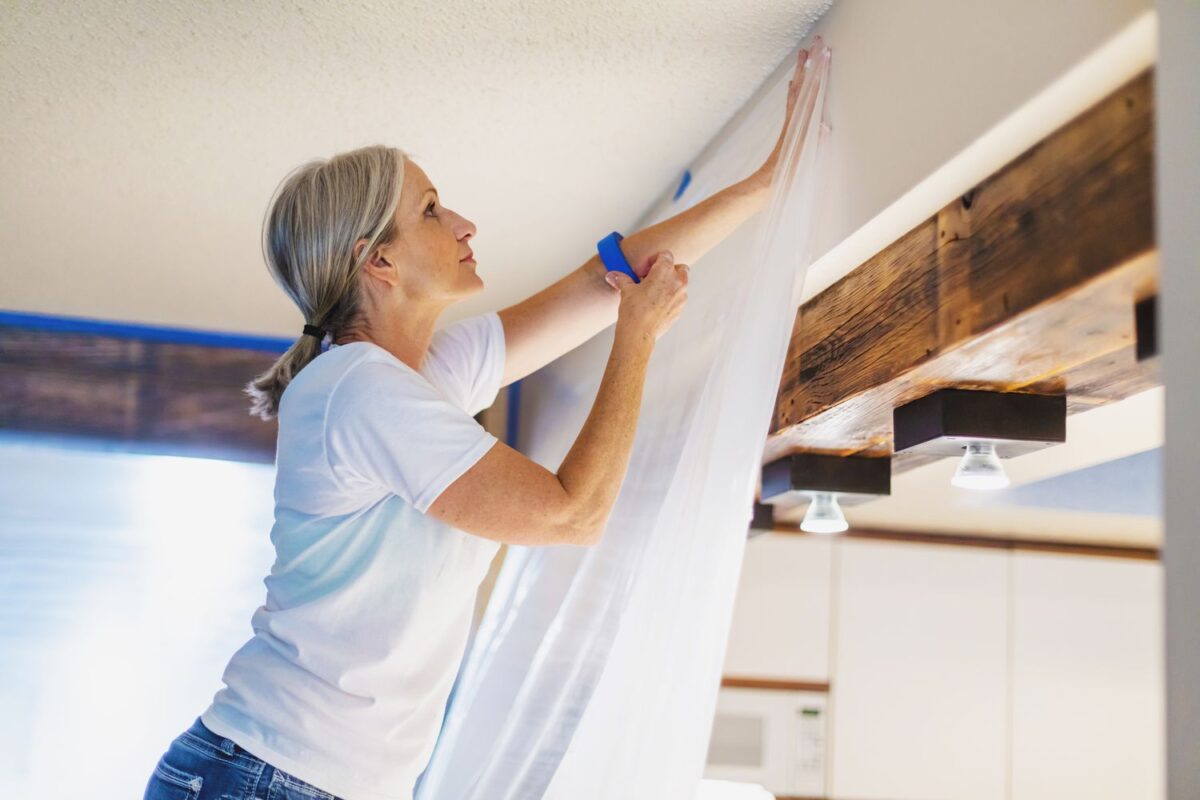
Cover Everything
The clean-up process after painting might sometimes take longer than the actual painting. Save yourself the bother by clearing the room of as much furniture as you can, then covering the remaining pieces with plastic tarps.
Paint the Perimeter
Similar to painting a wall, you should begin by “cutting in,” or painting the ceiling’s edge with a paintbrush. Start at the edge of the ceiling and paint a few inches into it with a 2- to 3-inch brush. When you use a roller to paint the rest of the ceiling, you’ll want to feather the strokes so the edge blends in perfectly. If you intend to paint both the walls and the ceiling, skip the painter’s tape and start cutting in on the walls and ceiling as you circle the space.
Make sure you’re using the right ladder for the height of the ceiling to make cutting in easier. Struggling to reach is not only risky, but it will probably leave your muscles sore the next day. Instead of trying to bring the entire can, which would be heavy and dangerous if it spilled, pour some paint into a small bucket to store at the top of the ladder.
It could be time to employ a professional painter if you have exceptionally high ceilings that are difficult for you to comfortably reach with a ladder.
Use a Roller
For smooth ceilings, a low-nap roller works well; for textured ceilings, try a 3/4-inch nap roller. When you’re shopping for supplies, keep the ceiling height in mind and get the shortest roller extension pole that allows you to reach comfortably. Getting too long of an extension pole means you’ll be carrying more weight than is necessary.
Roll into the paint, and then use the textured side of the paint tray to roll off any excess. It may seem that more paint would help get the job done faster, but it will cause more drips and splatters.
Starting in one corner of the ceiling, roll on the paint with overlapping strokes to create a smooth, uniform surface. Once the entire ceiling is done, allow the paint to dry for 30 minutes. Then check if the surface needs any touch-ups or a second coat.
Good luck and we hope you’ve enjoyed this article on ” How to Paint a Celling “.