


How to Paint Concrete Floors
The Paint Shacks’ step-by-step guide on to how to paint concrete Floors .
You only need a gallon or two of paint and a few other essentials to make a plain concrete slab look completely new and different. Even if you have little expertise, you can do this project, but you should take your time to do it well. This is the procedure.
You’ll require:
- Concrete paint (epoxy is ideal)
- Concrete degreaser
- Masonry primer
- Masonry sealer
- Plastic wrap
- Painter’s tape
- Brush and dustpan
- Mop and bucket
- Wet/dry vacuum
- Sandpaper (80- or 100-grit)
- Hand sander or sand pads
- Paint roller (Hand or Long)
- Roller tray
- Extra roller heads
- Protective gear: mask, goggles, and gloves
Depending on the present condition of your concrete surface, you might also need a caulking gun, masonry crack filler, or concrete patch compound when painting concrete.
If you don’t already have some of these larger tools, like a hand sander or wet/dry vacuum, you can save money by renting them from your neighbourhood home improvement store rather than purchasing them. Let’s dive into the key steps required to teach you how to paint concrete floors.
Step 1: Test for moisture
You might be tempted to start painting right away, but if you want the job done well, you’ll need to conduct a moisture test first. Your concrete floor may still have moisture problems, which might cause the paint you apply to peel off or, worse still, encourage the growth of mold, mildew, or algae.
Take a square foot of plastic wrap and tape it down firmly using painter’s tape to conduct the test. Check to see whether there are any moisture droplets trapped underneath after letting it settle for 24 hours. If there are, you must carefully seal the surface before proceeding with painting.
Step 2: Clean the Concrete Floor.
It’s essential that you begin with a surface that is completely dry and clean. This can be one of the more labour-intensive components of the job. This is because concrete floors are typically in areas that can become pretty dirty, like your backyard or garage.
Use a broom to get rid of all the dirt on the floor before using a mop and a concrete degreaser to clean it completely. Next, you’ll need to give the floor a lot of time to dry. To hasten the process, use fans and/or an open window to improve air circulation. Wait a few days to be sure.
Step 3: Vacuum and Sand.
Sanding and vacuuming are the following prep tasks. With a hand sander, you can eliminate any unevenness in the concrete’s top layer. We recommend not doing this without a hand sander.
Use the wet/dry vacuum to remove all of the sanding dust left behind after you’ve finished sanding. The surface should now be as smooth as it can be.
Step 4: Complete Any Repairs.
Before painting, go in and patch any holes or cracks for the best results. This will ensure the paint job has a much more polished appearance and boost its endurance.
Depending on how much damage needs to be repaired, you may need caulk, masonry crack filler, or a more robust concrete patch compound. Whichever route you choose, be sure to thoroughly read the instructions. Also, give the product plenty of time to cure before priming and painting.
Step 5: Prime the Floor.
Like painting any other type of surface in your home, a primer is essential when painting concrete. However, you should use masonry primer instead of regular primer. This is specifically made for use on cement and concrete.
Apply the primer with a roller, allowing each coat to completely dry between applications for optimal coverage.
Step 6: Mix the Concrete Epoxy Paint.
This step may obviously be skipped if you’re using acrylic latex paint, but if you’re using epoxy, you’ll need to mix it first. For optimal results, this should be carried out in tiny quantities and combine the paint with the hardener it needs to set.
For further instructions, refer to the epoxy paint’s instructions, which you purchased. With some elbow grease and paint stirrers, you should be able to mix effectively, but if you have any questions about the procedure or if you just need a little more direction, ask a professional at the home improvement store for their advice.
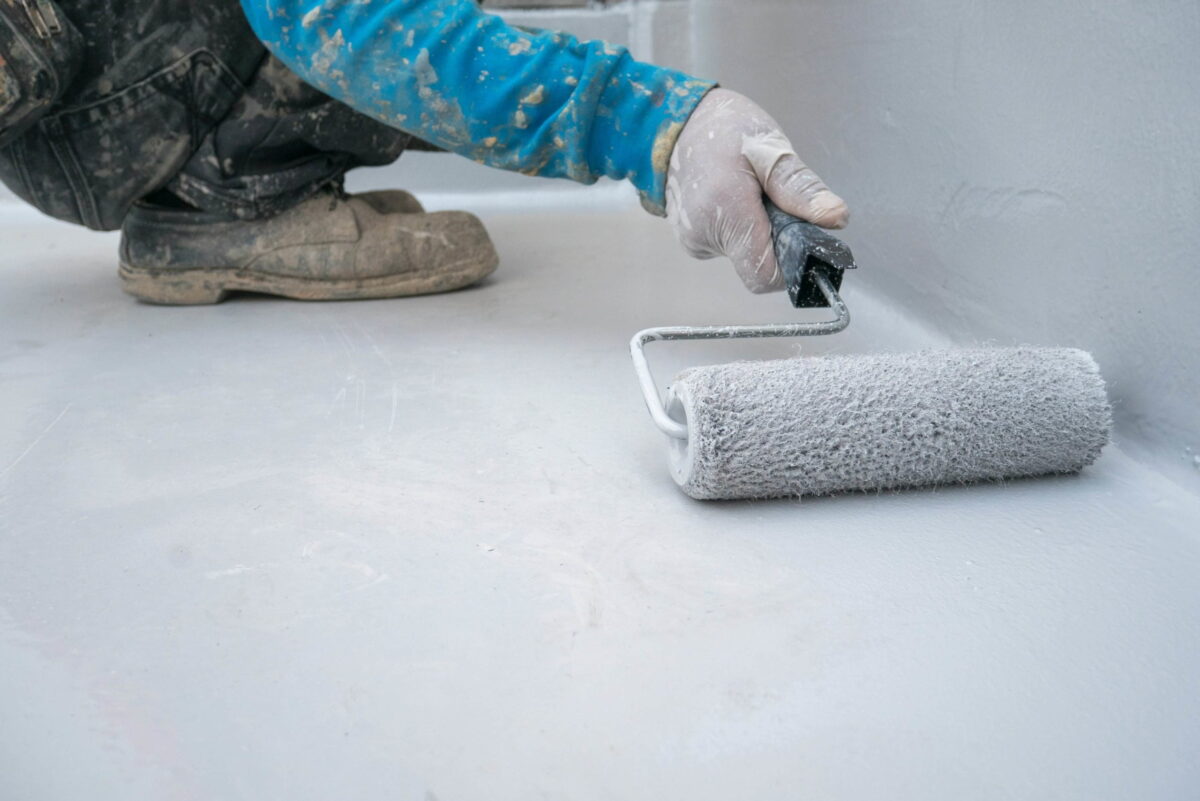
Step 7: Get Painting
It’s time to start rolling on the paint. Apply two coats and let them fully dry in between, just like you did with the primer. Add a third coat if you’re not happy with the coverage after two.
Don’t unintentionally paint yourself into a corner with your painting choices.
Step 8: Use Masonry Sealant
The paint can then be sealed with masonry sealer as the final step. Once more, you’ll need at least a few applications and enough time for drying in between. For curing times, adhere to the instructions.
Use your protective equipment the entire time to keep yourself safe from fumes. You should also allow for air circulation to improve the environment for both you and the painting process. There are lots of steps, which makes this a longer type of project. This includes coatings and drying times, but we know the result will be worthwhile. It’s a good idea to keep an eye out for any potential problems and address them as soon as possible. This means you can make corrections early rather than redo the entire job later on. Let’s hope you won’t have too many touch-ups for a while.
We hope you have learned a lot from this guide on how to paint concrete floors.