


How to Paint Your Front Door
If you are interested in learning how to paint your front door, we have the perfect guide for you. We are all aware of the transformative power of a fresh coat of paint for your walls, so why not do the same for the exterior of your home? Take advantage of the opportunity to introduce your style right away since your front entrance is what visitors will see initially. You can give your property brand-new curb appeal in a matter of hours with this “Do It In A Day” project!
So, just before you dive in to your project, start by select a colour first. This is an important consideration and therefore should be given some time.
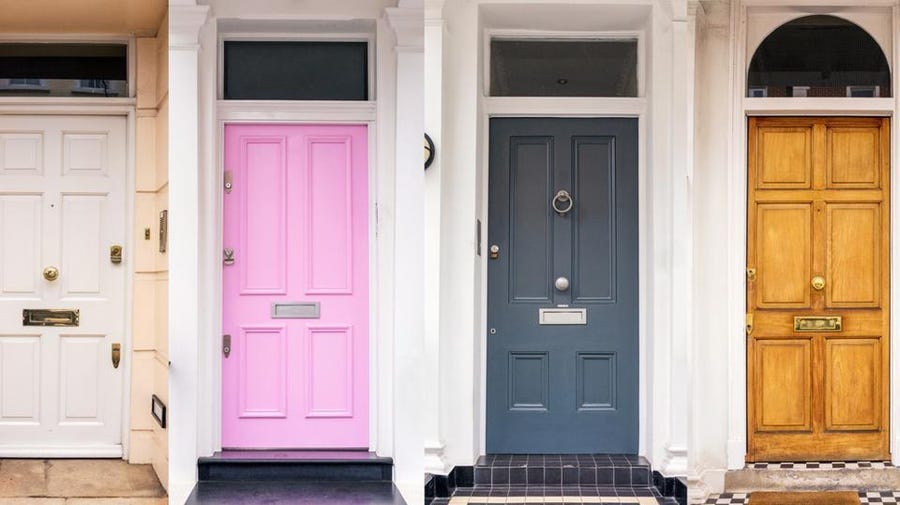
There is nothing more classic than white because it always appears clean and fresh. If your decor is modern, though, choose a trendy colour like cool grey. If you live in a historical building, you could choose to try royal blue or a deep red or vibrant yellow.
Gather Your Equipment
Preparation is key to painting your door just the same as most other DIY jobs. Gather the following tools and materials to get started. Also, remember your safety equipment, items such as googles, gloves, mask and overalls are great to have at your disposal for any paint job.
- Exterior Wood Paint
- Paint Stripper
- Masking Tape
- Paint Brush, Roller & Tray
- Paint Scraper
- Shave Hook
- Cloth
- Sandpaper
Preparation
Now that you’ve gathered all the above items you’re ready to get started on your paint job. Preparing the surface before you begin painting is the key to creating a door you can be proud of. If you don’t enough time completing the preparation phase, you won’t have the smooth finish you’ll want to display at the conclusion of your project.
It’s a good idea to also consider things like whether you wish to remove the door to complete the job or if you wish to remove or replace handles. Its best to make these decisions early on before the work gets started.
Step 1: Out with the Old
We’ll start by removing the old paint from the surface using the paint stripper. Always carefully read the paint stripper directions before using the product, and follow all safety requirements.
Apply the paint stripper with an old paintbrush while wearing safety goggles and gloves. Brush it evenly over the flat surfaces, work it into the corners and mouldings, and then let it sit for the advised amount of time.
As soon as the surface starts to bubble, you’ll see that the chemical is beginning to interact with the paint. This takes normally about 30 minutes but check the packaging to confirm.
Next, we’ll test it by selecting a test area on the door, and using a flat-bladed scraper to remove the paint on a test patch. You might need to stipple additional stripper and wait a little longer if the paint is thick with multiple layers.
You can scrape back the paint to uncover the naked wood once the stripper has finished its work.
Step 2: Get those Grooves
The flat paint scraper won’t get you into those hard to reach areas on a door. When a door has curves it’s a good idea to use a shave hook. This handy little tool enables you to follow the various grooves of the door or moulding to ensure you remove all the old paint.
When using the paint hook, it’s important to remove the paint by scraping back towards you by pulling rather than pushing the hook. Continue until all of the paint has been removed.
Step 3: Cleaning, Filling and Sanding
Next we need to clean off the door before proceeding to painting. This can either be done by using white spirits or water, the paint stripper may have some instructions on which is best to use for that particular product. Next take the cloth and adding one of the above, wipe away the remaining residue from the door. To completely eliminate all traces of the stripping solution, rub it into the surface using a cloth or brush. You can now sand your door and give it a final polish.
If you notices any dents or holes in the door, you may wish to use wood filler to conceal the old hole or mark, ensure to do this before sanding and allow time for the filler to dry. Wood filler normally dries in 30 minutes or so but check the packaging for clarity.
Next, we’ll move on to sanding the door, this should create a good surface to apply the paint afterwards. Start by putting on a dust mask and use medium-grade abrasive paper to sand the flat panels. Work in the direction of the grain while wrapping the paper around a piece of wood or using a sanding block, being careful not to round off any sharp corners or mouldings.
Make a second pass over the area with fine-grade abrasive paper. You are well on the way with your project and learning how to paint your front door.
Step 4: Ready to Paint
There are a few different types of front doors you may wish to paint. We’ll address each of the main three types below and give you a slightly different approach. Whichever type of door you have, be sure to take your time and watch for paint drips.
Painting a Panel Door
Panel doors are quiet easy to paint.
(1) Start painting the various panels and the mouldings that surround each panel. You can work from left to right or top down.
(2) Next paint the centre vertically followed by sides,
(3)Next, paint the doors cross rails (horizontals) working your way down from the top rail. (4) Finish by painting the three exposed door edges, then the outside four verticals
Painting a Glazed Door
As glazed doors have glass, it’s a good idea to use masking tape or protective plastic to protect the glass during your project.
- First, take your bush and carefully cut into the areas surrounding the mouldings around the glass.
- Next, paint the cross rails(horizontals) starting at the top rail and moving downward
- Finally, paint all three exposed door edges and the outer-verticals.
Painting a flush Door
This can be a difficult door to paint, so it’s a good idea to use some creativity to divide up the door into more manageable sections. Make eight fictitious divisions in the door. Work your way down from left to right, beginning at the top left. While the paint is still wet, combine one section with the next before completing the painting with vertical strokes. Always follow the direction of the grain, as this will produce a more even distribution of the paint. Last, paint the door margins, which are the areas on the edge of the door.
We hope you’ve enjoyed this gude on how to paint your front door.