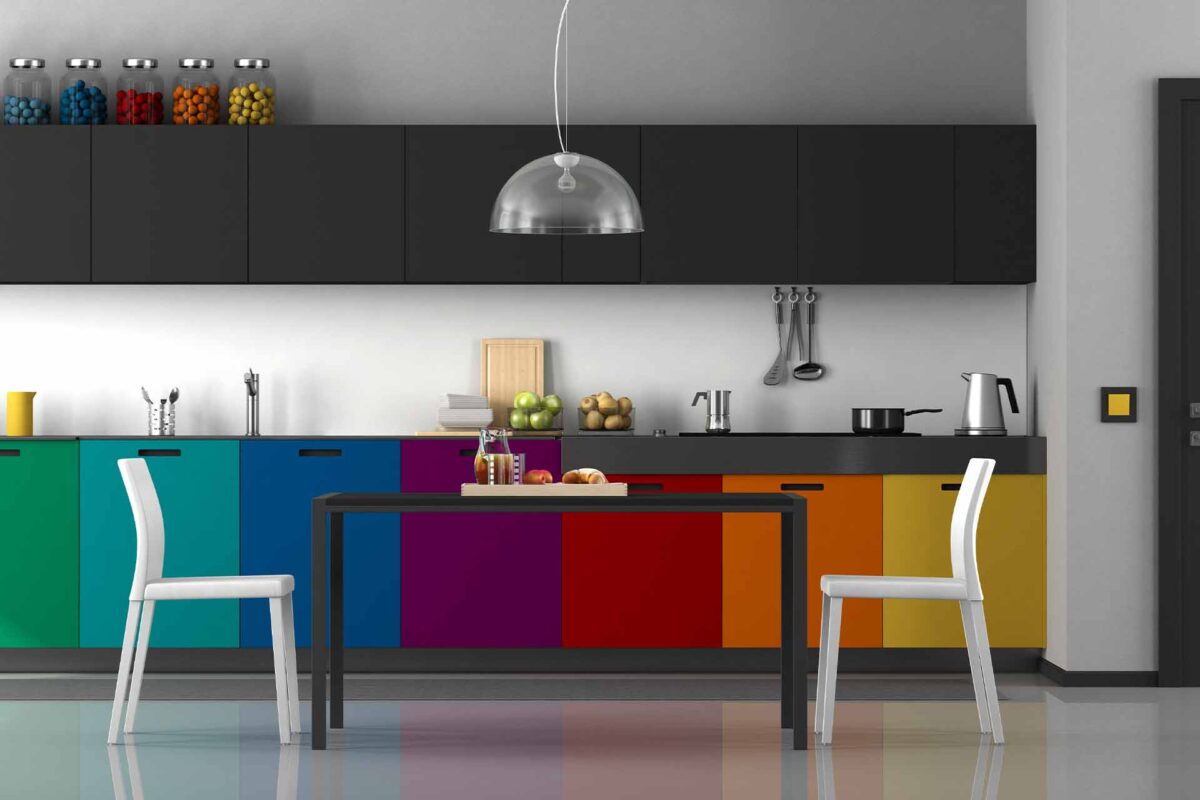
Spray Painting Kitchen Cabinets
What is Spray Painting?
Spray painting kitchen cabinets is a great way to add life to your kitchen. For those of you who have never used spray paint before, it is simply paint in a can that can be sprayed. Many people already know what spray paint is. This type of paint is typically used for convenience, but it also works well if you want a glossy or satin finish.
Spray painting is great if you want a smooth, even coat without any brushstrokes. It is a quicker method of painting a surface, but you must have good lighting and ventilation in the area where you are painting. The majority of the time, spray paint only needs one coat for adequate coverage, and it dries far more quickly than brush painting would. If there is a moulding covering a piece of furniture, you can use spray paint to get into all the nooks and crannies and other difficult-to-reach places.
What are the Options?
When considering spray painting kitchen cabinets you have two options, either hire a professional or do it yourself. You can get a variety of quotations because there are many businesses in Ireland that can provide their services to re-spray kitchens, but how much will it actually cost?
This really depends on a number of things, like the size of the kitchen, the doors, the cabinets, or perhaps a large company that frequently posts pricey estimates to repaint kitchens in Google’s top places.
Costs of Kitchen Repainting
Each work has a different cost depending on its size. Costs for small kitchens range from €700 to €990. Kitchens on average cost between €1090 and €1190. Big kitchens cost between €1300 and €1490, while very large kitchens cost between €1490 and €1590.
These are all rounded pricing, and our spending plans are affordable and well suited to your requirements.
Getting Started Spray Painting Kitchen Cabinets
Makeover your outdated kitchen cabinets by repainting them rather than replacing them. You can completely redo your kitchen in a weekend with a few gallons of paint and a cheap paint sprayer.
Gather the following:
- 4-in-1 screwdriver
- Bucket
- Cordless drill
- Paintbrush
- Putty knife
- Rags
- Safety glasses
- Vacuum
- Masking Tape
- Paint
- Sandpaper (320 Grit)
- Spray gun
To give your kitchen a gorgeous makeover, you don’t need to invest thousands of dollars in new cabinets. You can use paint to give your cabinets a new look if they’re in good condition. Even the spray painter costs less than €250 to give your boring cabinets a silky smooth painted gloss.
Because spray painting creates an incredibly smooth surface, professional painters frequently use it on doors. This post will demonstrate how to spray paint your kitchen cabinet doors and drawers to look like it was professionally done. To operate a spray painter effectively, there is just a small learning curve. However, masking off the cabinet openings (and the rest of the kitchen) takes a lot of effort, so just use a brush for those areas. You could also spray the paint on the cabinet frames, sides, and trim.
Despite our enthusiasm, a painted finish has drawbacks. Even if you take care, paint runs and brush marks may still appear on the sides of your paint cabinet because paint isn’t as durable as a factory finish.
You may only paint one side of the doors per day, and you must let the paint dry between coats over the course of four or five days. Now, let’s dive into the three essential steps, Prepping, Priming and Painting.
Step 1: Prepping
Getting Organised
As you take down the doors, label them so you’ll know where to put them back. Since it’s the only area that isn’t painted, writing a number in the hinge hole (for Euro hinges) or where the hinge connects works nicely.
- Spread out the doors and drawers on a work surface in the garage or another workspace.
- Get rid of any leftover cabinet hardware.
- Wash the front and rear of the doors, as well as the fronts of the drawers, with warm water and dish soap to get rid of oil.
- If you don’t remove all the grease, the primer and paint won’t stick.
- Wash well with water.
- To keep paint out, use tape in the hinge holes or the areas where the hinges attach.
Safeguard Nearby Surfaces
- Clean the kitchen cabinet frames of any grease and grime.
- Everything that touches the cabinet frame should be taped off.
- Cover the countertops with rosin paper and tape the walls, ceiling, and floor.
- With plastic sheets or masking paper, cover the vent hood and the appliances.
Fix troublesome areas and prep cabinets.
- With 320-grit sandpaper, smooth off any ridges or burrs on the cabinet frames or damaged sections of the doors.
- With spackling compound, you can repair dings, holes, and scrapes.
- Utilizing a putty knife, work the compound into the damaged area.
- If you’re replacing the hardware and need holes in various locations, fill in the existing holes from the handles and hardware.
- Be aware that some paint cabinets have a very durable catalysed lacquer finish. If you don’t rough up the surface initially, primer won’t adhere well to it.
- Use 320-grit sandpaper to lightly sand the cabinet frames, trim, and sides as well as the doors. You don’t need to sand off the finish; just enough sanding will remove the sheen.
- Making use of a bristle attachment, vacuum the dust from the wood.
- Use a tack cloth to clean the doors and frames just before you’re prepared to apply the primer. You don’t need to scrub the surface to remove the small dust particles; simply running the towel over it will do.
Step 2: Priming
- Apply a stain-repellent primer with a paintbrush to the door and cabinet frames.
- Don’t use a roller, expert advice. The finish will change due on the texture it leaves behind. Additionally, brushing is almost as quick as rolling, and you can push the primer into nooks and crannies with the bristles.
- While you prime the cabinet face frames and sides, prime one side of each door and let it dry.
Next, prime the doors on the opposite side.
Sanding & Smoothing the Wood
- Using fine-grit sandpaper, sand the doors and paint the cabinets.
- Observe the grain when sanding, and avoid rounding edges.
- With a tack cloth, thoroughly clean the surface.
- Fill in the wood grain using spackling compound if you have doors with a coarse wood grain (like oak) and want a smooth finish.
- Apply compound to the door with a putty knife, working it into the wood grain.
- After allowing it to dry, sand it with medium-grit paper, and then repaint it.
Step 3: Painting
Use a Brush on the Frames
- Fill a bucket with a gallon of paint and thin it with a half-cup of water and a half-quart of the Floetrol paint additive (available at paint dealers).
- Remarkably, the use of water and Floetrol helps to remove brush and lap marks by smoothing out the paint as it is applied and slowing the drying process. When you spray, the thinner paint also results in a more uniform coating.
- Cabinets’ exposed sides should be painted using a brush. As the paint dries, the majority of light brush strokes will vanish (thanks to the Floetrol).
- To paint the cabinet frames, begin in a corner.
- Before moving on to the next rail or stile, paint the entire rail or stile, including the inner edge, with a premium paintbrush.
- For your paint cabinets, use a gloss or semi-gloss latex enamel paint. Its strong, lustrous finish is fingerprint and stain resistant.
Practice First
As you are about to start spraying, there are a few things to consider before starting. Once you’ve mastered the points below, you’re ready to start the main job.
- Create a working area where you can practice first and then move to the main job.
- Firstly ensure the area is properly ventilated by opening windows and doors to create a nice flow of air. Use a protective respirator mask, the fumes will be strong so you will need one.
- Before practicing, ensure that other areas in the room are fully covered.
- Follow the instruction on the sprayer adding the water and paint based mix,
- Practice spray painting while maintaining a 10- to 12-inch distance from the surface. Don’t only use your wrist; instead, sweep your entire arm back and forth across the door panel.
- To achieve a vertical fan pattern, adjust the nozzle.
- To ensure that the paint covers the surface without running, adjust the flow rate.
Get to Work
Follow the same points listed above to begin painting your cabinet doors. Use your entire arm, not just your wrist, to sweep across the door panel. The fan pattern can be achieved by adjusting the nozzle, and the flow rate should be adjusted to ensure that the paint covers the surface without running. This should have been solved in your practice above.
Drawer painting
- Spray paint the drawers after lining the inside with plastic wrap or paper.
- Paint the backs first, then the edges, and finally the faces, working your way down from the top.
- Start and stop the spraying past the drawer’s sides.
- Give the doors and drawers a second coat after letting them dry overnight.
Put Everything Back Together
- Reinstall the kitchen’s doors and drawers.
- Prior to screwing them to the cabinet frames, attach the hinges to the doors. Reconnect any additional hardware.
- Scrape any paint that may have gotten into the hinge holes so the hinges will fit tightly.
We hope this guide on spray painting kitchen cabinets have helped you on your journey to new kitchen delights.

