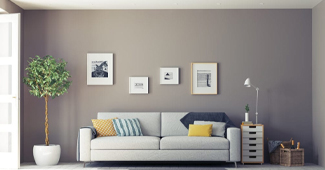


How to Paint a Timber Floor
We often get asked how to paint a timber floor? As wear and tear prevails on our floors there comes a time for change. Follow our simple five-step guide for fabulous wooden flooring in your home.
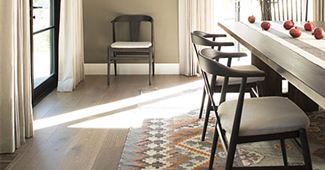
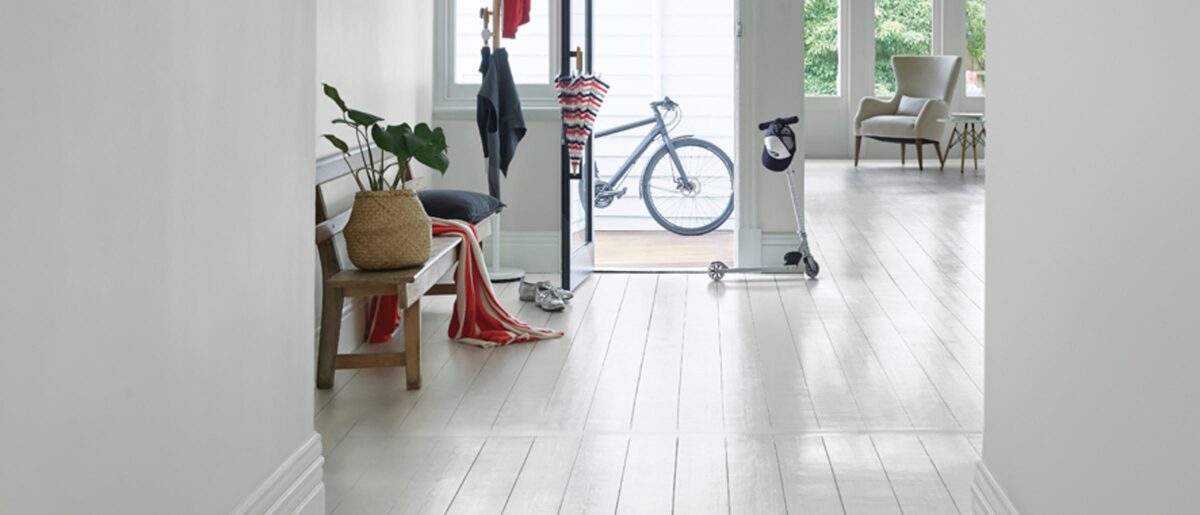
Solid hardwood floors can be given new life by painting rather than repolishing them, which is more expensive and messy. Additionally, it can make your flooring a stunning design feature and stand out, especially if you paint them white. Painting hardwood floors requires time and patience, but if you follow these easy instructions, you’ll be a pro in no time.
Floor paint Essentials:
- Brush Masking tape
- Paint tray
- Wood cleaner
- Sander
- Roller
- Sponge or cloth
- Vacuum cleaner
As with any paint project, it’s crucial to properly prepare the surface you’re working on to ensure a nice, even, long-lasting finish. When dealing with polished hardwood floors, you must first thoroughly clean them with a mop to get rid of any accumulated dirt and residue. After the floor has dried, you must sand it, but you won’t need to sand the floor down to bare wood for this particular project in order to get the finish you want.
Painting floors can be tricky, so it’s a good idea to remove as much furniture as possible from the room before starting.
Step 1: Sand
If your wooden floor has been varnished, you’ll need to lightly sand it to restore the surface’s porosity. Since there will be a lot of dust, this is a good time to sand your skirting as well because you should paint it after you paint the floor for the best results. Also if your floor has any cracks it’s a good idea to fill in any of those cracks with wood filler.
We recommend using 120 grit sandpaper on a hand-held electric sander so you can get the job done more efficiently and effectively. Alternatively, you could opt for an industrial sander which can be rented from local tool hire shops.
Step 2: Clean
The next step is to clean the area before painting. Using a degreaser wipe down the newly sanded surfaces to get rid of any traces of filth, dust, and grease, vacuum the floor and use. If your floors are relatively, you can use a simple wood floor cleaner. Allow the floor an hour to dry before painting.
Step 3: Masking the Area
Before painting, it’s a good idea to protect the other areas of the room such as walls or skirting boards. You can mask of these areas quickly and easily using masking tape. Make sure the area is dry before using tape to hide the skirting board’s floor-facing edge. Once you have the area masked off, you’re ready to start paining your wooden floors.
Step 4: Painting the Wooden Floor
You’re finally ready to paint your wooden floor. If the room has a lot of traffic such as a kitchen or living room, we’d recommend using a primer, undercoat and topcoat to get the best result. Once you’ve opened your paint, stir your paint thoroughly to ensure that the colour and consistency of the finish will look great. and if you’re using a roller for the first time, lightly mist it with water using a spray bottle. By doing this, you can increase paint absorption on the roller and eliminate fluff.
Using a brush, paint the floor’s edges, and then use a roller to cover the entire surface. Apply two coats, then check the drying periods on the can. More coats can be necessary if the colour shift is significant.
Step 5: Tidy up
Once your floor has dried, you’re ready to begin tidying up. Drying times are listed on the paint tin, giving a few extra drying hours can often be a good idea. Once your floor has fully dried, it’s time to remove the masking tape and then begin to move furniture back into the room.