How to Paint a Celling

How to Paint a Celling

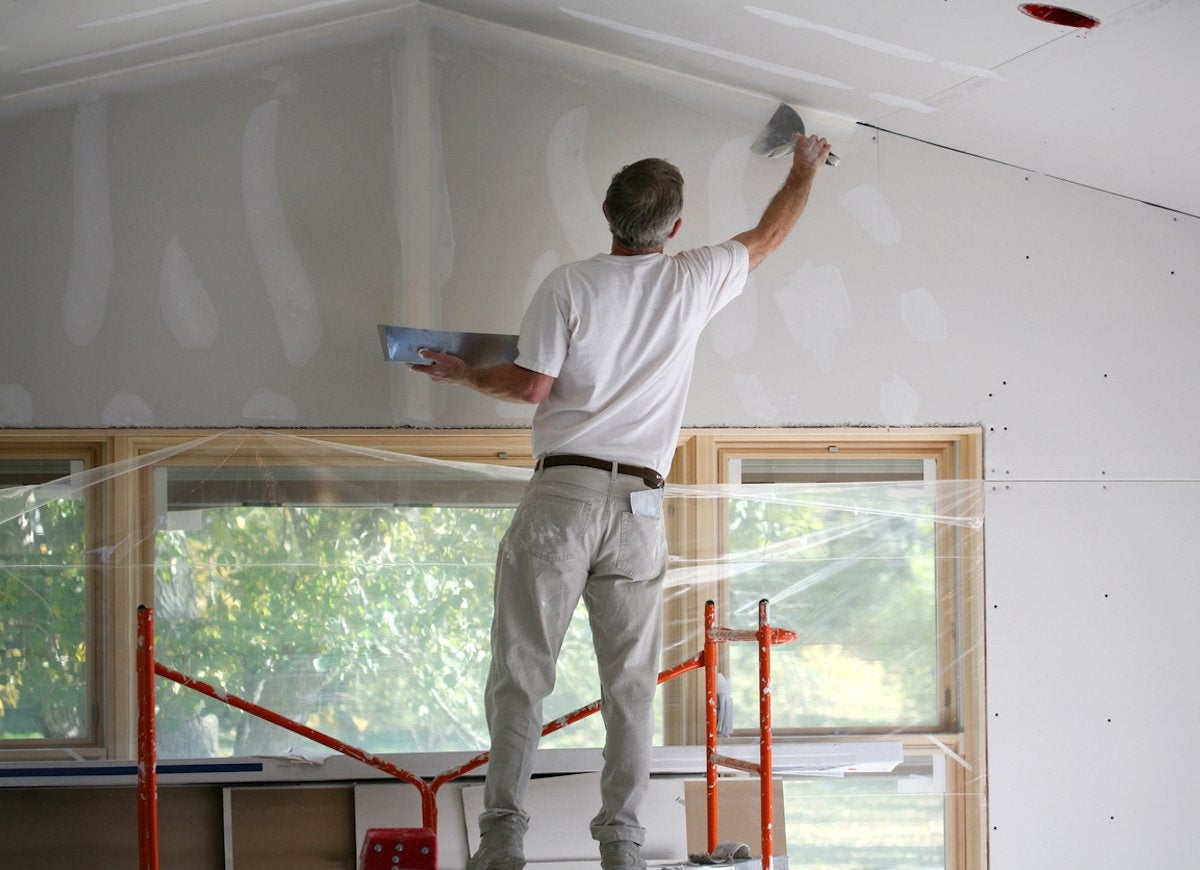
So you have decided to update your home and you’re wondering just how to paint a celing. We understand that the prospect of painting the ceiling can be daunting. But for a freshly painted space to look finished, it’s a vital step. Use these suggestions to do the task quickly and effectively while making sure the procedure is as simple and painless as possible. Here’s how to paint a ceiling properly, from choosing the necessary supplies to using the perfect method.

Paint the Celling First

Everyone has the same query: Which should be painted first, the ceiling or the walls? Start painting the ceiling if you intend to paint the entire space. In this manner, you won’t have to worry about roller splatters landing on the walls because everything will be touched up after the walls are painted. One warning: Be careful not to paint the walls if you’re painting the ceiling a strikingly different colour from the walls. Tape off any moulding.

Use Tape

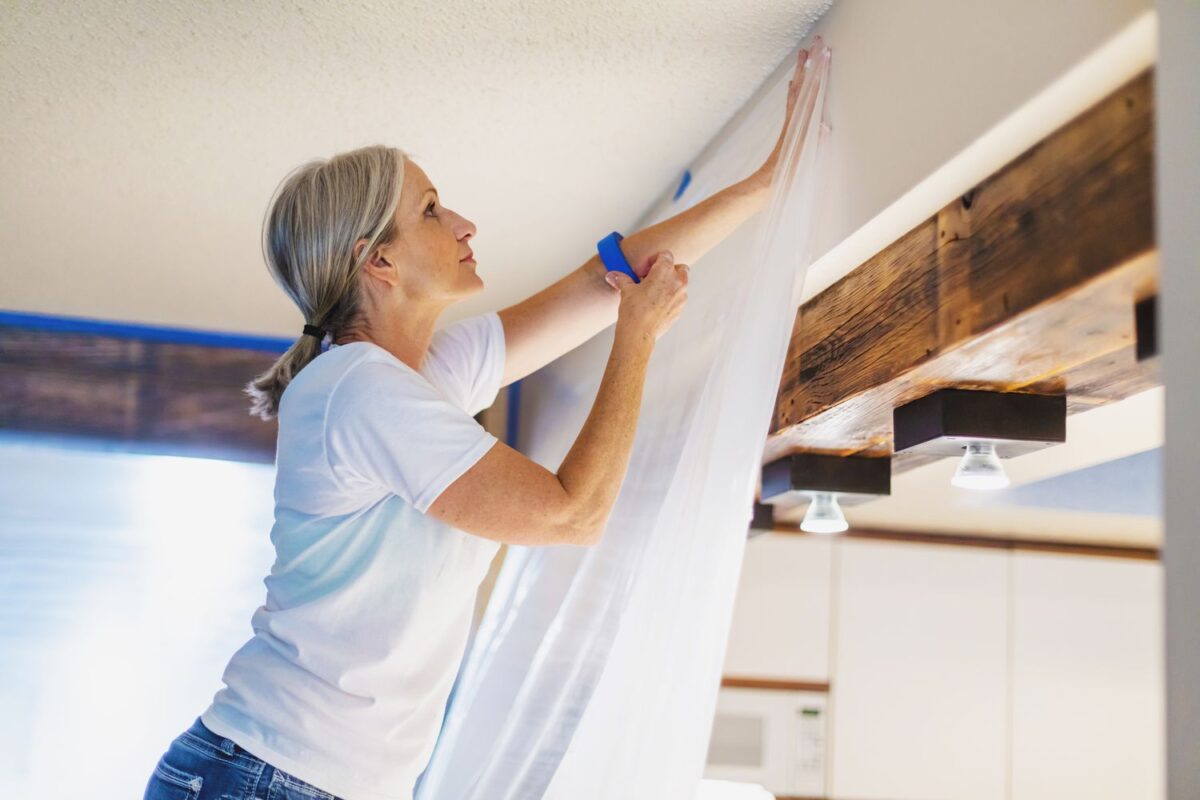
Start by tape off the wall or crown moulding edge if you’re only painting the ceiling. If you want to get the roller close to the corner without getting paint on the wall, think about using a larger painter’s tape. This enables you to work more quickly by allowing you to be less precise.

Don’t forget to cover ceiling fans and tape any light fittings or vents.

Cover Everything

The clean-up process after painting might sometimes take longer than the actual painting. Save yourself the bother by clearing the room of as much furniture as you can, then covering the remaining pieces with plastic tarps.

Paint the Perimeter

Similar to painting a wall, you should begin by “cutting in,” or painting the ceiling’s edge with a paintbrush. Start at the edge of the ceiling and paint a few inches into it with a 2- to 3-inch brush. When you use a roller to paint the rest of the ceiling, you’ll want to feather the strokes so the edge blends in perfectly. If you intend to paint both the walls and the ceiling, skip the painter’s tape and start cutting in on the walls and ceiling as you circle the space.

Make sure you’re using the right ladder for the height of the ceiling to make cutting in easier. Struggling to reach is not only risky, but it will probably leave your muscles sore the next day. Instead of trying to bring the entire can, which would be heavy and dangerous if it spilled, pour some paint into a small bucket to store at the top of the ladder.

It could be time to employ a professional painter if you have exceptionally high ceilings that are difficult for you to comfortably reach with a ladder.

Use a Roller

For smooth ceilings, a low-nap roller works well; for textured ceilings, try a 3/4-inch nap roller. When you’re shopping for supplies, keep the ceiling height in mind and get the shortest roller extension pole that allows you to reach comfortably. Getting too long of an extension pole means you’ll be carrying more weight than is necessary.

Roll into the paint, and then use the textured side of the paint tray to roll off any excess. It may seem that more paint would help get the job done faster, but it will cause more drips and splatters.

Starting in one corner of the ceiling, roll on the paint with overlapping strokes to create a smooth, uniform surface. Once the entire ceiling is done, allow the paint to dry for 30 minutes. Then check if the surface needs any touch-ups or a second coat.

Good luck and we hope you’ve enjoyed this article on ” How to Paint a Celling “.

Concrete Floor Paint

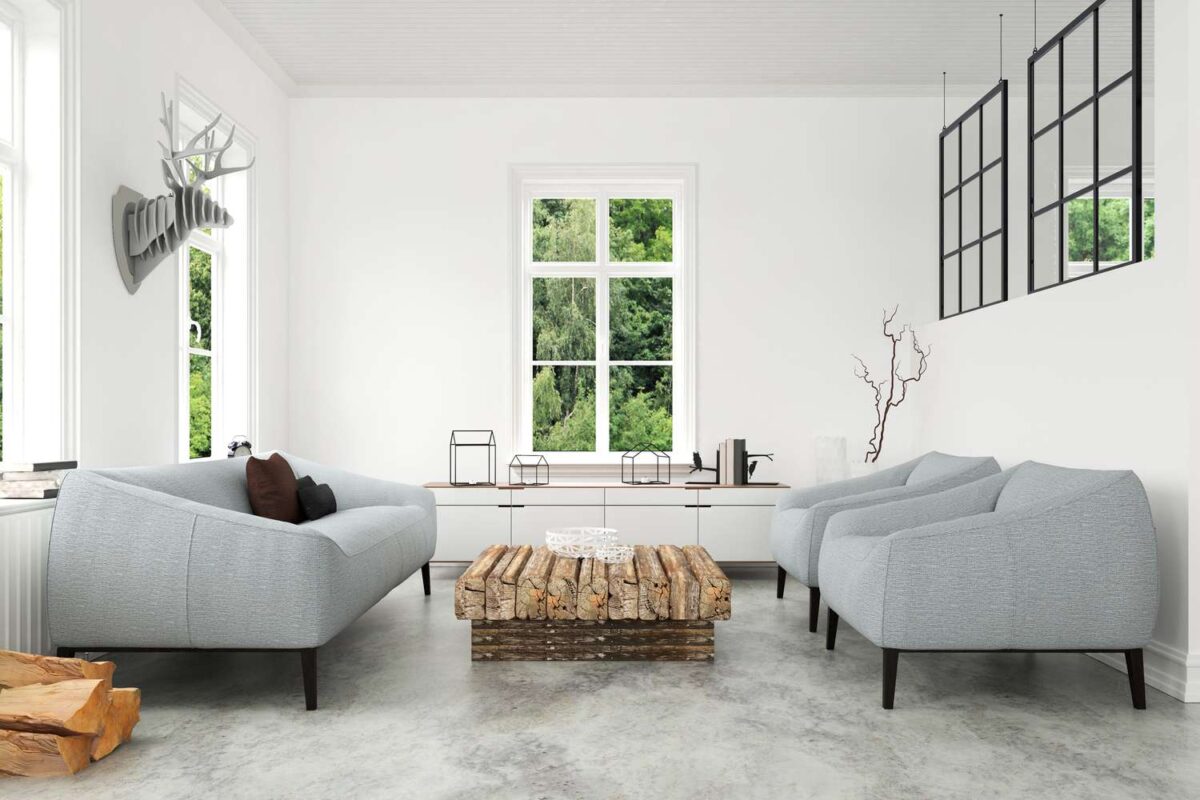
The good news is that with the concrete floor paint, you can change the colour of the concrete. If you want to quickly update your garage, patio, or basement, painting the concrete floor can be a great do-it-yourself project. Concrete painting is simpler than you may imagine, and it’s a terrific project for adding a little unexpected flair to drab, grey concrete or cement surfaces.


When painting concrete floors, there are a few important factors to consider, such as the type of paint you choose and the final appearance you desire. The next section goes over the most important things you need to know about painting concrete floors in your home.

Painting or staining concrete to update it

Both paint and stain provide a quicker—and much more affordable—alternative to completely replacing the slab when updating a concrete surface (for example, a gallon of concrete paint will cost you around €50 versus about €600 or so for a new 10 foot × 10 foot slab).

So how do you choose between painting and staining concrete floors? What matters most is how you want to look in the end. Acid-based stains penetrate the concrete’s surface, providing longer-lasting coverage. Concrete is naturally porous, so if you don’t cover the top with a solid layer, you might see some streaks and unevenness.

Concrete can be stained, but painting it results in a more even, richly coloured finish. Durability is one area where it merely falls short. You should be prepared to deal with chips and peels over time and the necessity for touch-ups now and then, especially if you drive on the surface or subject it to a lot of foot traffic.

Both concrete paint and concrete stain, in the end, have benefits and drawbacks. However, painting will most likely be your best option if you’re looking for the most striking result.

Selecting the Right Concrete Floor Paint Type

The next step is to select the best kind of paint for the project if you’ve opted to use it.

Acrylic Latex or Epoxy are your two choices for concrete paint.

  • Acrylic Latex, is water based concrete paint which is easy to use. Most people feel fairly at ease using concrete paint. This is because it applies similarly to any other regular acrylic paint you may use at home.
  • Epoxy concrete paint is weather resistant, significantly more durable, and produces a more expensive-looking surface. This is why it is the most favoured option among professionals. That said, it is more difficult to work with than acrylic latex paint. This is because you must first mix the epoxy compound before you can begin painting. Despite this, working with epoxy is still simple enough for do-it-yourselves.

So how do you paint a concrete floor, thats a good question. To begin it is necessary to clean and prepare the surface, choose a suitable paint, and apply it using a roller or brush. Here is a quick overview of the process:

  1. Clean the floor thoroughly to remove any dirt, grease, or oil. A degreaser or TSP (trisodium phosphate) solution can be used to remove stubborn stains.
  2. Repair any cracks or holes in the concrete using a concrete patching compound. Allow the compound to dry according to the manufacturer’s instructions.
  3. Use a concrete etcher or acid wash to roughen the surface and create a better bond for the paint. Rinse the floor thoroughly with water and allow it to dry completely.
  4. Apply a concrete sealer or primer to the surface to help the paint adhere better. Follow the manufacturer’s instructions for drying time.
  5. Choose a paint that is suitable for concrete surfaces and has good durability. Epoxy or urethane paints are commonly used for concrete floors.
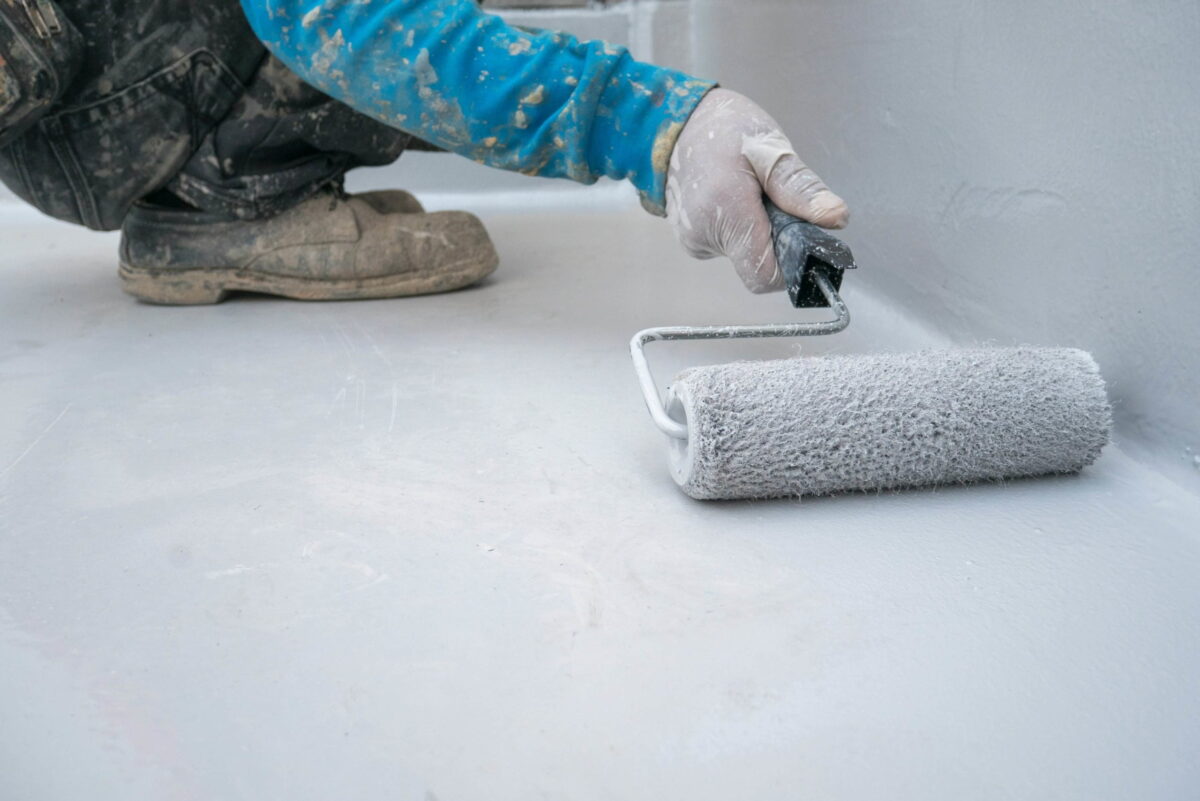
  6. Apply the paint using a roller or brush, following the manufacturer’s instructions. Allow the paint to dry completely before applying a second coat, if necessary.

Can You Paint Floor Tiles

Can You Paint Floor Tiles

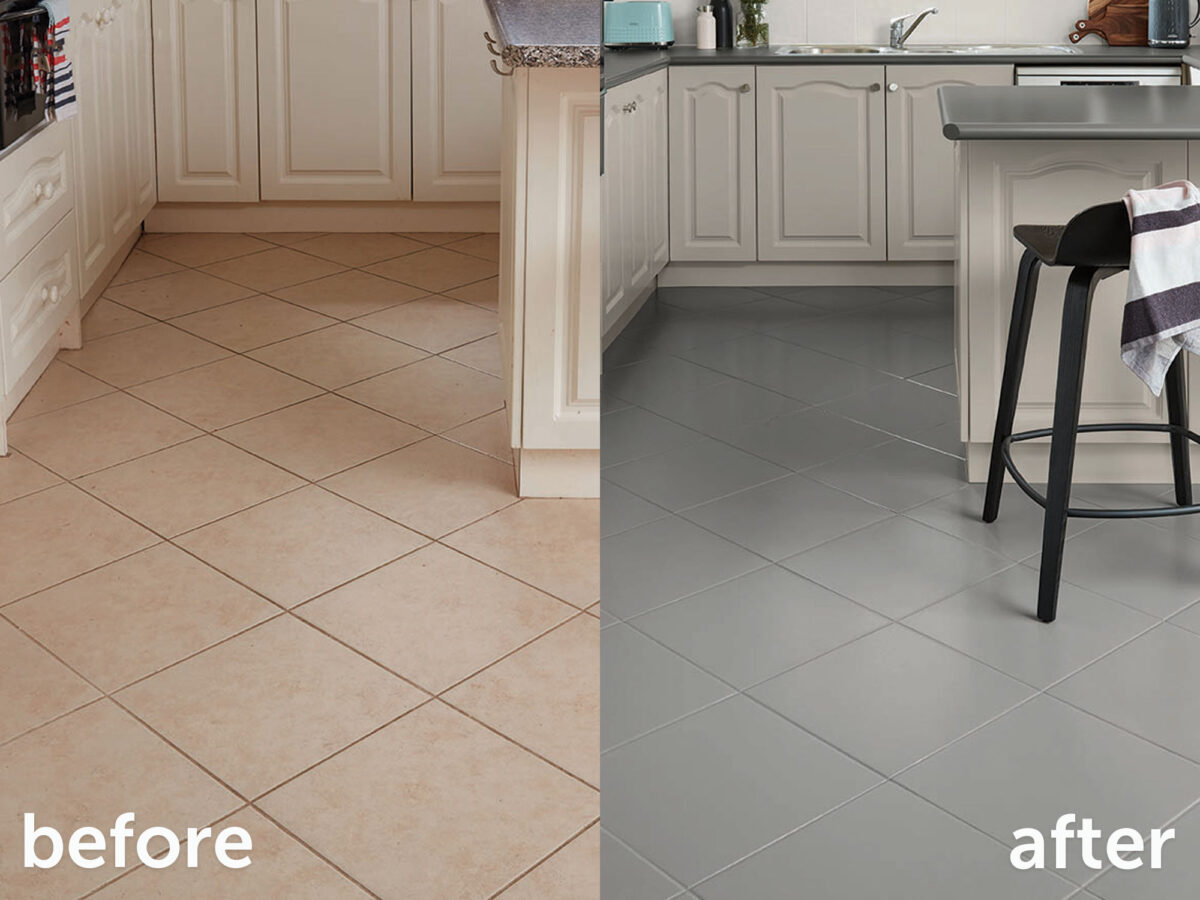
If you’re wondering if you can paint floor tiles, read on. Yes, it is the answer. Painting your floor tiles might be a wonderful alternative if you want to update the look of your bathroom or kitchen tiles but don’t have the time or money for a complete re-tiling.

Most tiles can be painted over, with the exception of glazed quarry tiles. Allowed materials include ceramic, porcelain, and natural stone, however, they must first be primed, sanded, and painted with epoxy paint. Painting bathroom backsplashes and walls is a superior option.

But what about the shower? Although shower surfaces can be painted, doing so is neither feasible nor economical. Bathroom tiles are particularly prone to early fading, peeling, or blistering due to continual contact to water and moisture.

The Best Tile Paint

Not all paints are appropriate for use on tiles. Ordinary wall paint will not adhere to the surface and water-based paints will dissolve. Due to its exceptional resistance to abrasion and cleaning agents, epoxy paint is a wise choice. Enamel, alkyd urethane, and silicone-based paint are frequently utilized. Additionally, there are particular water-resistant tile coatings that are made to survive the high heat and wetness of bathrooms and kitchens.

Pros of Tile Painting

It is economical. Painting tiles instead of replacing them is more cost-effective. Old tiles can be affordably updated in terms of both appearance and feel by painting. Compared to expensive replacement choices, painting supplies are inexpensive.

Homeowners can finish the renovation on their own. A simple DIY project like painting tiles can completely change the colour and layout of a space. Your tiles can be altered to meet your demands and aesthetic preferences. Additionally, painted tiles require less care. The solution is routine cleaning with a mild detergent.

Cons of Tile Painting

Be prepared for a lot of labour. It takes a lot of preparation work to paint tile, including priming the surface and replacing any broken tiles.

It is not enduring. Tile painting is not a long-term fix. Instead, it increases the longevity of your current tiles. Eventually, paint will peel or split. Increased foot traffic or moisture exposure will expedite deterioration. Your painted tiles will last longer if you use mats and rugs, especially in high activity areas.

Paint also requires time to dry. For a period, you won’t be able to use your kitchen or bathroom. Decide on a time when few people will need to use such locations and schedule this accordingly.

Advice on Painting Tile

The tools you’ll need, such as paint, primer, rollers and brushes, sealer, and any stencils for a patterned finish, should all be gathered. Before painting, properly clean and dry the tiles. Don’t neglect this step since dirt, dust, grease, mould stains, or food residue can interfere with paint’s ability to adhere properly.

After that, fix any broken tiles. Use a two-way epoxy filler that may also be painted to repair cracked tiles. In particular for high-gloss tiles, sanding the tiles will give the paint something to adhere to. Prior to painting the tiles, lastly prime them. Before returning to regular usage, make sure to give them enough time to dry and apply any sealants.

How to Paint Concrete Floors

How to Paint Concrete Floors

The Paint Shacks’ step-by-step guide on to how to paint concrete Floors .

You only need a gallon or two of paint and a few other essentials to make a plain concrete slab look completely new and different. Even if you have little expertise, you can do this project, but you should take your time to do it well. This is the procedure.

You’ll require:

  • Concrete paint (epoxy is ideal)
  • Concrete degreaser
  • Masonry primer
  • Masonry sealer
  • Plastic wrap
  • Painter’s tape
  • Brush and dustpan
  • Mop and bucket
  • Wet/dry vacuum
  • Sandpaper (80- or 100-grit)
  • Hand sander or sand pads
  • Paint roller (Hand or Long)
  • Roller tray
  • Extra roller heads
  • Protective gear: mask, goggles, and gloves

Depending on the present condition of your concrete surface, you might also need a caulking gun, masonry crack filler, or concrete patch compound when painting concrete.

If you don’t already have some of these larger tools, like a hand sander or wet/dry vacuum, you can save money by renting them from your neighbourhood home improvement store rather than purchasing them. Let’s dive into the key steps required to teach you how to paint concrete floors.

Step 1: Test for moisture

You might be tempted to start painting right away, but if you want the job done well, you’ll need to conduct a moisture test first. Your concrete floor may still have moisture problems, which might cause the paint you apply to peel off or, worse still, encourage the growth of mold, mildew, or algae.

Take a square foot of plastic wrap and tape it down firmly using painter’s tape to conduct the test. Check to see whether there are any moisture droplets trapped underneath after letting it settle for 24 hours. If there are, you must carefully seal the surface before proceeding with painting.

Step 2: Clean the Concrete Floor.

It’s essential that you begin with a surface that is completely dry and clean. This can be one of the more labour-intensive components of the job. This is because concrete floors are typically in areas that can become pretty dirty, like your backyard or garage.

Use a broom to get rid of all the dirt on the floor before using a mop and a concrete degreaser to clean it completely. Next, you’ll need to give the floor a lot of time to dry. To hasten the process, use fans and/or an open window to improve air circulation. Wait a few days to be sure.

Step 3: Vacuum and Sand.

Sanding and vacuuming are the following prep tasks. With a hand sander, you can eliminate any unevenness in the concrete’s top layer. We recommend not doing this without a hand sander.

Use the wet/dry vacuum to remove all of the sanding dust left behind after you’ve finished sanding. The surface should now be as smooth as it can be.

Step 4: Complete Any Repairs.

Before painting, go in and patch any holes or cracks for the best results. This will ensure the paint job has a much more polished appearance and boost its endurance.

Depending on how much damage needs to be repaired, you may need caulk, masonry crack filler, or a more robust concrete patch compound. Whichever route you choose, be sure to thoroughly read the instructions. Also, give the product plenty of time to cure before priming and painting.

Step 5: Prime the Floor.

Like painting any other type of surface in your home, a primer is essential when painting concrete. However, you should use masonry primer instead of regular primer. This is specifically made for use on cement and concrete.

Apply the primer with a roller, allowing each coat to completely dry between applications for optimal coverage.

Step 6: Mix the Concrete Epoxy Paint.

This step may obviously be skipped if you’re using acrylic latex paint, but if you’re using epoxy, you’ll need to mix it first. For optimal results, this should be carried out in tiny quantities and combine the paint with the hardener it needs to set.

For further instructions, refer to the epoxy paint’s instructions, which you purchased. With some elbow grease and paint stirrers, you should be able to mix effectively, but if you have any questions about the procedure or if you just need a little more direction, ask a professional at the home improvement store for their advice.

Step 7: Get Painting

It’s time to start rolling on the paint. Apply two coats and let them fully dry in between, just like you did with the primer. Add a third coat if you’re not happy with the coverage after two.

Don’t unintentionally paint yourself into a corner with your painting choices.

Step 8: Use Masonry Sealant

The paint can then be sealed with masonry sealer as the final step. Once more, you’ll need at least a few applications and enough time for drying in between. For curing times, adhere to the instructions.

Use your protective equipment the entire time to keep yourself safe from fumes. You should also allow for air circulation to improve the environment for both you and the painting process. There are lots of steps, which makes this a longer type of project. This includes coatings and drying times, but we know the result will be worthwhile. It’s a good idea to keep an eye out for any potential problems and address them as soon as possible. This means you can make corrections early rather than redo the entire job later on. Let’s hope you won’t have too many touch-ups for a while.

We hope you have learned a lot from this guide on how to paint concrete floors.

Spray Painting Kitchen Cabinets

Spray Painting Kitchen Cabinets

What is Spray Painting?

Spray painting kitchen cabinets is a great way to add life to your kitchen. For those of you who have never used spray paint before, it is simply paint in a can that can be sprayed. Many people already know what spray paint is. This type of paint is typically used for convenience, but it also works well if you want a glossy or satin finish.

Spray painting is great if you want a smooth, even coat without any brushstrokes. It is a quicker method of painting a surface, but you must have good lighting and ventilation in the area where you are painting. The majority of the time, spray paint only needs one coat for adequate coverage, and it dries far more quickly than brush painting would. If there is a moulding covering a piece of furniture, you can use spray paint to get into all the nooks and crannies and other difficult-to-reach places.

What are the Options?

When considering spray painting kitchen cabinets you have two options, either hire a professional or do it yourself. You can get a variety of quotations because there are many businesses in Ireland that can provide their services to re-spray kitchens, but how much will it actually cost?

This really depends on a number of things, like the size of the kitchen, the doors, the cabinets, or perhaps a large company that frequently posts pricey estimates to repaint kitchens in Google’s top places.

Costs of Kitchen Repainting

Each work has a different cost depending on its size. Costs for small kitchens range from €700 to €990. Kitchens on average cost between €1090 and €1190. Big kitchens cost between €1300 and €1490, while very large kitchens cost between €1490 and €1590.

These are all rounded pricing, and our spending plans are affordable and well suited to your requirements.


Getting Started Spray Painting Kitchen Cabinets

Makeover your outdated kitchen cabinets by repainting them rather than replacing them. You can completely redo your kitchen in a weekend with a few gallons of paint and a cheap paint sprayer.

Gather the following:

  • 4-in-1 screwdriver
  • Bucket
  • Cordless drill
  • Paintbrush
  • Putty knife
  • Rags
  • Safety glasses
  • Vacuum
  • Masking Tape
  • Paint
  • Sandpaper (320 Grit)
  • Spray gun

To give your kitchen a gorgeous makeover, you don’t need to invest thousands of dollars in new cabinets. You can use paint to give your cabinets a new look if they’re in good condition. Even the spray painter costs less than €250 to give your boring cabinets a silky smooth painted gloss.

Because spray painting creates an incredibly smooth surface, professional painters frequently use it on doors. This post will demonstrate how to spray paint your kitchen cabinet doors and drawers to look like it was professionally done. To operate a spray painter effectively, there is just a small learning curve. However, masking off the cabinet openings (and the rest of the kitchen) takes a lot of effort, so just use a brush for those areas. You could also spray the paint on the cabinet frames, sides, and trim.

Despite our enthusiasm, a painted finish has drawbacks. Even if you take care, paint runs and brush marks may still appear on the sides of your paint cabinet because paint isn’t as durable as a factory finish.

You may only paint one side of the doors per day, and you must let the paint dry between coats over the course of four or five days. Now, let’s dive into the three essential steps, Prepping, Priming and Painting.

Step 1: Prepping

Getting Organised

As you take down the doors, label them so you’ll know where to put them back. Since it’s the only area that isn’t painted, writing a number in the hinge hole (for Euro hinges) or where the hinge connects works nicely.

  • Spread out the doors and drawers on a work surface in the garage or another workspace.
  • Get rid of any leftover cabinet hardware.
  • Wash the front and rear of the doors, as well as the fronts of the drawers, with warm water and dish soap to get rid of oil.
  • If you don’t remove all the grease, the primer and paint won’t stick.
  • Wash well with water.
  • To keep paint out, use tape in the hinge holes or the areas where the hinges attach.

Safeguard Nearby Surfaces

  • Clean the kitchen cabinet frames of any grease and grime.
  • Everything that touches the cabinet frame should be taped off.
  • Cover the countertops with rosin paper and tape the walls, ceiling, and floor.
  • With plastic sheets or masking paper, cover the vent hood and the appliances.


Fix troublesome areas and prep cabinets.

  • With 320-grit sandpaper, smooth off any ridges or burrs on the cabinet frames or damaged sections of the doors.
  • With spackling compound, you can repair dings, holes, and scrapes.
  • Utilizing a putty knife, work the compound into the damaged area.
  • If you’re replacing the hardware and need holes in various locations, fill in the existing holes from the handles and hardware.
  • Be aware that some paint cabinets have a very durable catalysed lacquer finish. If you don’t rough up the surface initially, primer won’t adhere well to it.
  • Use 320-grit sandpaper to lightly sand the cabinet frames, trim, and sides as well as the doors. You don’t need to sand off the finish; just enough sanding will remove the sheen.
  • Making use of a bristle attachment, vacuum the dust from the wood.
  • Use a tack cloth to clean the doors and frames just before you’re prepared to apply the primer. You don’t need to scrub the surface to remove the small dust particles; simply running the towel over it will do.

Step 2: Priming

  • Apply a stain-repellent primer with a paintbrush to the door and cabinet frames.
  • Don’t use a roller, expert advice. The finish will change due on the texture it leaves behind. Additionally, brushing is almost as quick as rolling, and you can push the primer into nooks and crannies with the bristles.
  • While you prime the cabinet face frames and sides, prime one side of each door and let it dry.

Next, prime the doors on the opposite side.

Sanding & Smoothing the Wood

  • Using fine-grit sandpaper, sand the doors and paint the cabinets.
  • Observe the grain when sanding, and avoid rounding edges.
  • With a tack cloth, thoroughly clean the surface.
  • Fill in the wood grain using spackling compound if you have doors with a coarse wood grain (like oak) and want a smooth finish.
  • Apply compound to the door with a putty knife, working it into the wood grain.
  • After allowing it to dry, sand it with medium-grit paper, and then repaint it.

Step 3: Painting

Use a Brush on the Frames

  • Fill a bucket with a gallon of paint and thin it with a half-cup of water and a half-quart of the Floetrol paint additive (available at paint dealers).
  • Remarkably, the use of water and Floetrol helps to remove brush and lap marks by smoothing out the paint as it is applied and slowing the drying process. When you spray, the thinner paint also results in a more uniform coating.
  • Cabinets’ exposed sides should be painted using a brush. As the paint dries, the majority of light brush strokes will vanish (thanks to the Floetrol).
  • To paint the cabinet frames, begin in a corner.
  • Before moving on to the next rail or stile, paint the entire rail or stile, including the inner edge, with a premium paintbrush.
  • For your paint cabinets, use a gloss or semi-gloss latex enamel paint. Its strong, lustrous finish is fingerprint and stain resistant.

Practice First

As you are about to start spraying, there are a few things to consider before starting. Once you’ve mastered the points below, you’re ready to start the main job.

  • Create a working area where you can practice first and then move to the main job.
  • Firstly ensure the area is properly ventilated by opening windows and doors to create a nice flow of air. Use a protective respirator mask, the fumes will be strong so you will need one.
  • Before practicing, ensure that other areas in the room are fully covered.
  •  Follow the instruction on the sprayer adding the water and paint based mix,
  • Practice spray painting while maintaining a 10- to 12-inch distance from the surface. Don’t only use your wrist; instead, sweep your entire arm back and forth across the door panel.
  • To achieve a vertical fan pattern, adjust the nozzle.
  • To ensure that the paint covers the surface without running, adjust the flow rate.

Get to Work
Follow the same points listed above to begin painting your cabinet doors. Use your entire arm, not just your wrist, to sweep across the door panel. The fan pattern can be achieved by adjusting the nozzle, and the flow rate should be adjusted to ensure that the paint covers the surface without running. This should have been solved in your practice above.

Drawer painting

  • Spray paint the drawers after lining the inside with plastic wrap or paper.
  • Paint the backs first, then the edges, and finally the faces, working your way down from the top.
  • Start and stop the spraying past the drawer’s sides.
  • Give the doors and drawers a second coat after letting them dry overnight.

Put Everything Back Together

  • Reinstall the kitchen’s doors and drawers.
  • Prior to screwing them to the cabinet frames, attach the hinges to the doors. Reconnect any additional hardware.
  • Scrape any paint that may have gotten into the hinge holes so the hinges will fit tightly.

We hope this guide on spray painting kitchen cabinets have helped you on your journey to new kitchen delights.

How to Paint Your Front Door

How to Paint Your Front Door

If you are interested in learning how to paint your front door, we have the perfect guide for you. We are all aware of the transformative power of a fresh coat of paint for your walls, so why not do the same for the exterior of your home? Take advantage of the opportunity to introduce your style right away since your front entrance is what visitors will see initially. You can give your property brand-new curb appeal in a matter of hours with this “Do It In A Day” project!

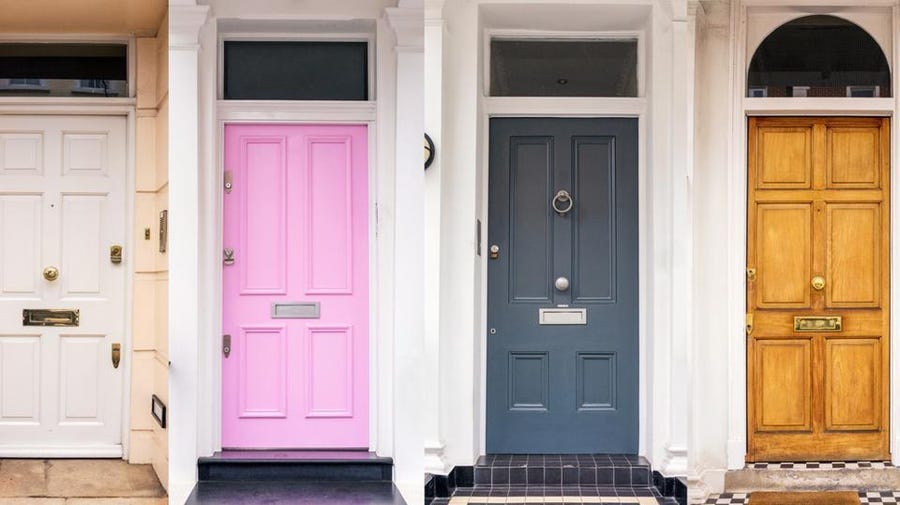
So, just before you dive in to your project, start by select a colour first. This is an important consideration and therefore should be given some time.

There is nothing more classic than white because it always appears clean and fresh. If your decor is modern, though, choose a trendy colour like cool grey. If you live in a historical building, you could choose to try royal blue or a deep red or vibrant yellow.

Gather Your Equipment

Preparation is key to painting your door just the same as most other DIY jobs. Gather the following tools and materials to get started. Also, remember your safety equipment, items such as googles, gloves, mask and overalls are great to have at your disposal for any paint job.

  • Exterior Wood Paint
  • Paint Stripper
  • Masking Tape
  • Paint Brush, Roller & Tray
  • Paint Scraper
  • Shave Hook
  • Cloth
  • Sandpaper

Preparation

Now that you’ve gathered all the above items you’re ready to get started on your paint job. Preparing the surface before you begin painting is the key to creating a door you can be proud of. If you don’t enough time completing the preparation phase, you won’t have the smooth finish you’ll want to display at the conclusion of your project.

It’s a good idea to also consider things like whether you wish to remove the door to complete the job or if you wish to remove or replace handles. Its best to make these decisions early on before the work gets started.

Step 1: Out with the Old

We’ll start by removing the old paint from the surface using the paint stripper. Always carefully read the paint stripper directions before using the product, and follow all safety requirements.

Apply the paint stripper with an old paintbrush while wearing safety goggles and gloves. Brush it evenly over the flat surfaces, work it into the corners and mouldings, and then let it sit for the advised amount of time.

As soon as the surface starts to bubble, you’ll see that the chemical is beginning to interact with the paint. This takes normally about 30 minutes but check the packaging to confirm.

Next, we’ll test it by selecting a test area on the door, and using a flat-bladed scraper to remove the paint on a test patch. You might need to stipple additional stripper and wait a little longer if the paint is thick with multiple layers.

You can scrape back the paint to uncover the naked wood once the stripper has finished its work.

Step 2: Get those Grooves

The flat paint scraper won’t get you into those hard to reach areas on a door. When a door has curves it’s a good idea to use a shave hook. This handy little tool enables you to follow the various grooves of the door or moulding to ensure you remove all the old paint.

When using the paint hook, it’s important to remove the paint by scraping back towards you by pulling rather than pushing the hook. Continue until all of the paint has been removed.

Step 3: Cleaning, Filling and Sanding

Next we need to clean off the door before proceeding to painting. This can either be done by using white spirits or water, the paint stripper may have some instructions on which is best to use for that particular product. Next take the cloth and adding one of the above, wipe away the remaining residue from the door. To completely eliminate all traces of the stripping solution, rub it into the surface using a cloth or brush. You can now sand your door and give it a final polish.

If you notices any dents or holes in the door, you may wish to use wood filler to conceal the old hole or mark, ensure to do this before sanding and allow time for the filler to dry. Wood filler normally dries in 30 minutes or so but check the packaging for clarity.

Next, we’ll move on to sanding the door, this should create a good surface to apply the paint afterwards. Start by putting on a dust mask and use medium-grade abrasive paper to sand the flat panels. Work in the direction of the grain while wrapping the paper around a piece of wood or using a sanding block, being careful not to round off any sharp corners or mouldings.

Make a second pass over the area with fine-grade abrasive paper. You are well on the way with your project and learning how to paint your front door.


Step 4: Ready to Paint

There are a few different types of front doors you may wish to paint. We’ll address each of the main three types below and give you a slightly different approach. Whichever type of door you have, be sure to take your time and watch for paint drips.

 Painting a Panel Door

Panel doors are quiet easy to paint.
(1) Start painting the various panels and the mouldings that surround each panel. You can work from left to right or top down.
(2) Next paint the centre vertically followed by sides,
(3)Next, paint the doors cross rails (horizontals) working your way down from the top rail. (4) Finish by painting the three exposed door edges, then the outside four verticals

Painting a Glazed Door

As glazed doors have glass, it’s a good idea to use masking tape or protective plastic to protect the glass during your project.

  • First, take your bush and carefully cut into the areas surrounding the mouldings around the glass.  
  • Next, paint the cross rails(horizontals) starting at the top rail and moving downward
  • Finally, paint all three exposed door edges and the outer-verticals.

Painting a flush Door

This can be a difficult door to paint, so it’s a good idea to use some creativity to divide up the door into more manageable sections. Make eight fictitious divisions in the door. Work your way down from left to right, beginning at the top left. While the paint is still wet, combine one section with the next before completing the painting with vertical strokes. Always follow the direction of the grain, as this will produce a more even distribution of the paint. Last, paint the door margins, which are the areas on the edge of the door.

We hope you’ve enjoyed this gude on how to paint your front door.

How to Prime New Walls for Painting

How to Prime New Walls for Painting

A common question that we often get asked here at the Paint Shack by house owners is how to prime new walls for painting. Another related question is whether or not the interior walls of a house need to be primed prior to painting. That’s an excellent question. Once upon a time, almost every painting expert said that you should use primer. Thankfully, that’s no longer the case thanks to the quality of the paint currently on the market. Of course, new walls are going to be slightly different and do need some priming.

What is Primer?

Even though it looks like paint, primer has more solids and an adhesive binder. In essence, it seals the surface and creates a spotless surface on which paint can cling. It resembles glue or sealant more so than paint in several ways.

Ensure the Plaster is Dry

First things first, give your plaster enough time to dry. Because plaster is so permeable, it will quickly absorb any moisture. Because of this, letting it dry out will enable you to produce a finish that is more even. The type of plaster and the weather are a couple of the variables that affect how fast you can paint on fresh plaster. Plaster typically needs four weeks to completely dry. By turning on a heater or opening a window, you might hasten the process. Failure to allow the plaster to dry will almost certainly result in cracks or peeling of your new paint.

Create and Use a Mist Coat

If you paint fresh plaster before it’s completely dry, you might also get splotchy brushstrokes. The following step is to make your own mist coat paint. Watered-down emulsion paint, which serves as your primer, is what mist coat paint is. It’s as simple as getting some white emulsion paint and thinning it with water. It should work with three parts paint to one part water.

Next, paint your freshly plastered wall with a mist coat. Make sure the space has been appropriately prepared. Set up dust cloths, protect furniture, and gather your brushes.

As it absorbs into the wall, the mixture will seal the plaster. This extra layer of water will help your top coat stick better and give you a professional-looking finish. Before applying your colour, you can sand or fill in any defects you find in the wall. Allow enough time for your mist coat paint to dry.

Finish with a Top Coat

The most exciting part of painting new plaster is applying your top coat and that crucial pop of colour. You can now paint your wall and decorate your room as usual after finishing all the preparation work.

We hope you’ve learned a lot from this step by step guide on how to prome new walls for painting.

How to Paint a Radiator

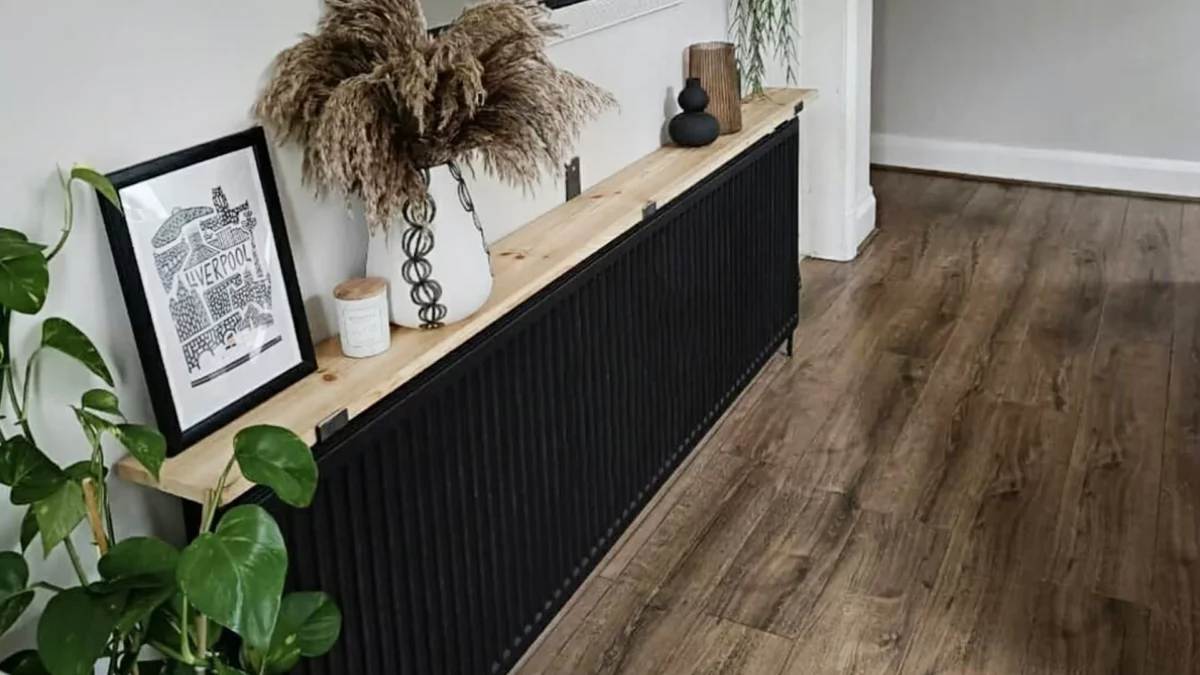
Perhaps you are wondering how to paint a radiator or if it is advisable to do so. The team at the Paint Shack is here to guide you step by step through the process.

Yes, you can paint your radiator with little work and for a surprisingly low cost. You just need to be are able to hold a brush and don’t mind leaning over or kneeling. The necessary supplies, depending on whether you’re using a brush or spray paint, are listed below.

Although conventional paint cannot be used to paint radiators, doing so can be inexpensive, simple, and enjoyable if done correctly. When done incorrectly, it might be a serious concern. However, with a few guidelines, you can paint your radiators any color you like in a matter of minutes.

Painting your radiator may be an excellent method to avoid purchasing a whole new radiator. Ensure it is still functioning well and has no cold patches or chilly bottom. Therefore, let’s get started with this essay on how to properly paint a radiator.

It is not necessary to remove your radiator from the wall when painting. You can easily paint without removing it.


What You’ll Need To Paint Your Radiator

So let’s start to gather the key things you’ll need to get started painting your radiator.
Cleaning Supplies: It’s a good idea to clearn your radiator before starting using washing up liquid and some warm water. Ensure the raditaor is fully dry before proceeding to paint.
Floor Protection: Anything to shield your floor from paint should be used, such as old sheets or newspaper.
– Sandpaper: Its a good idea to give your radiator a quick sanding to enable the paint to bond better. We recommend a medium grit sandpaper.
– Paint: Your choice of color (tinned or spray) radiator paint as well as primer.
– Paint Brushes: A selection of paintbrushes
Carboard: Its important to protect the room wall. Its a good idea to put a large piece of cardboard, or similar) between the radiator and the wall. If you’re painting your pipes or keeping your radiator mounted to the wall.


Steps How to Paint a Radiator

Painting a radiator can be a bit tricky, but with the right preparation and materials, it can be done successfully. Here is an overview of the process:

  1. Turn off the heat and ensure the raditor is cool to the touch before painting.
  2. Clean the radiator thoroughly with a degreaser or TSP (trisodium phosphate) solution to remove any dirt, grease, or oil. Scrub the radiator with a wire brush or sand it with fine-grit sandpaper. This will remove any rust and create a smooth surface for the paint to adhere to.
  3. Mask off any areas that you do not want to paint. This includes walls or floors, using masking tape and plastic sheeting.
  4. Apply a radiator primer to the surface to help the paint adhere better. Follow the manufacturer’s instructions for drying time.
  5. Choose a paint that is suitable for radiators and has good durability. Epoxy or heat-resistant paint is commonly used for radiators.
  6. Apply the paint using a roller or brush, following the manufacturer’s instructions. Allow the paint to dry completely before applying a second coat, if necessary.
  7. Once the paint is dry, turn the power or water supply back on to the radiator. Now its time to test it to ensure that it is working properly. Naturally, your painting sould not affect your radiator in anyway.

Note: It is always best to do a small test patch before starting the whole process. This enables your to check the compatibility of the paint with the radiator’s surface and of course the colour. Also, make sure to work in a well-ventilated area or use a respirator to avoid inhaling paint fumes.


How to Paint a Boat

How to Paint a Boat

There are several reasons why someone may want to learn how to paint their boat:

  1. Protection: Painting a boat can protect the surface from the harsh marine environment and extend the life of the boat. The paint acts as a barrier against saltwater, UV rays, and other environmental factors that can cause damage to the boat over time.
  2. Aesthetics: Painting a boat can give it a new look and improve its overall appearance. This can be especially beneficial if the boat is older or has faded or chipped paint.
  3. Maintenance: Painting a boat can also be a part of regular maintenance, as it can help to seal and protect the surface from further damage. It is a good way to keep the boat in good condition and prolong its lifespan.
  4. Value: Painting a boat can also increase its value. A well-maintained and freshly painted boat will be more appealing to potential buyers, and can increase its resale value.
  5. Personalisation: Lastly, painting a boat can be a way for an owner to personalize and make it unique. It can be a creative process and give the boat a unique style.

The Required Steps – Lets Get Started

Painting a boat requires a few specific steps to ensure the paint adheres well and stands up to the marine environment. Here is an overview of the process:

  1. Clean the boat thoroughly to remove any dirt, grease, or oil. A degreaser or TSP (trisodium phosphate) solution can be used to remove stubborn stains. Sand the surface with a fine-grit sandpaper to remove any oxidation. This also creates a smooth surface for the paint to adhere to.
  2. Repair any cracks or damage to the boat’s surface. Fill any holes or cracks with epoxy filler, and then sand the surface smooth.
  3. Apply a marine primer to the surface to help the paint adhere better. Follow the manufacturer’s instructions for drying time.
  4. Choose a paint that is suitable for marine use and has good durability. Epoxy or polyurethane paints are commonly used for boats.
  5. Apply the paint using a roller or brush, following the manufacturer’s instructions. Allow the paint to dry completely before applying a second coat, if necessary.
  6. Apply a clear coat of marine varnish to protect the paint and give it a glossy finish.

The above steps are general and depend on the condition of the surface of your boat. You may need to take additional preparation steps. It is always best to do a small test patch before starting the whole process. This will check the compatibility of the paint with the boat’s surface. Also, make sure to work in a well-ventilated area or use a respirator to avoid inhaling paint fumes.